
Activate Mac FileVault using Intune
Configure FileVault disk encryption for macOS with Intune. Review the policy, assignment and recovery-key handling, then verify the result on a pilot Mac.
Encrypting the disk of a workspace is one of the basic settings that every managed device should have. Everyone who manages Windows PCs knows BitLocker. The solution that is integrated in macOS to encrypt disks is called FileVault. In this blog I want to explain you how to Activate Mac FileVault using Intune, step by step, so that every Mac in your fleet is encrypted automatically. By the end you will know exactly how to Activate Mac FileVault using Intune and how to retrieve the recovery key when you need it.
Why Activate Mac FileVault using Intune
Before we configure anything, it helps to understand why you would Activate Mac FileVault using Intune instead of relying on users to turn on encryption themselves. FileVault uses XTS-AES-128 encryption to protect data at rest, and managing it centrally means the personal recovery key is escrowed to Intune automatically. That way a lost or stolen Mac stays protected, and your support team can always recover access. If you already manage Windows encryption, the workflow to Activate Mac FileVault using Intune will feel very familiar. You can read more about the official settings in the Microsoft Learn documentation.
Create Configuration Profile
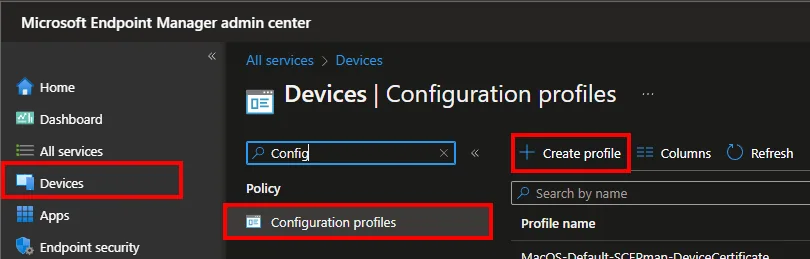
- Open the Intune admin center
- Navigate to Devices -> Configuration profiles
- Click + Create profile
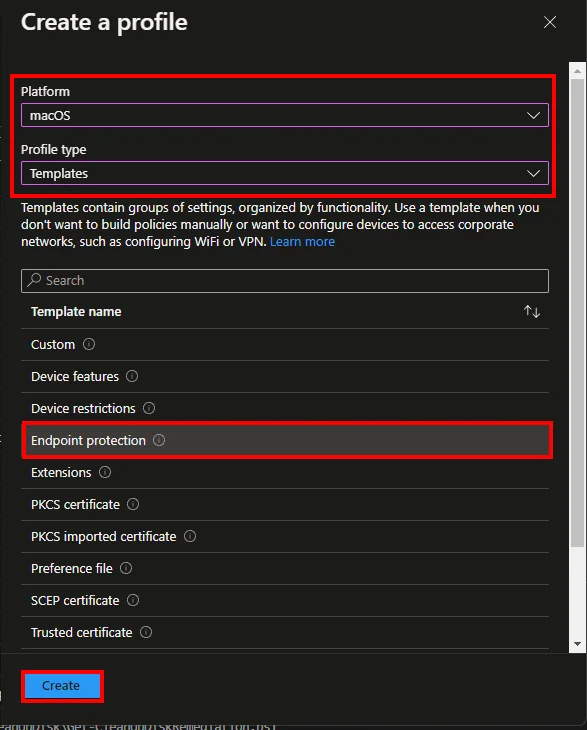
- Select macOS as Platform and Templates as Profile type
- Select Endpoint protection
- Click Create
- Enter a Name and click Next
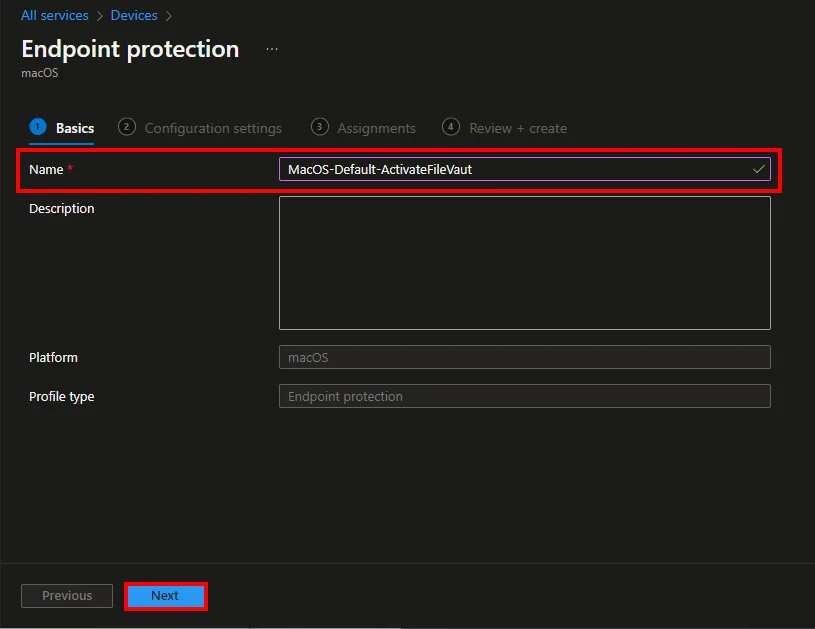
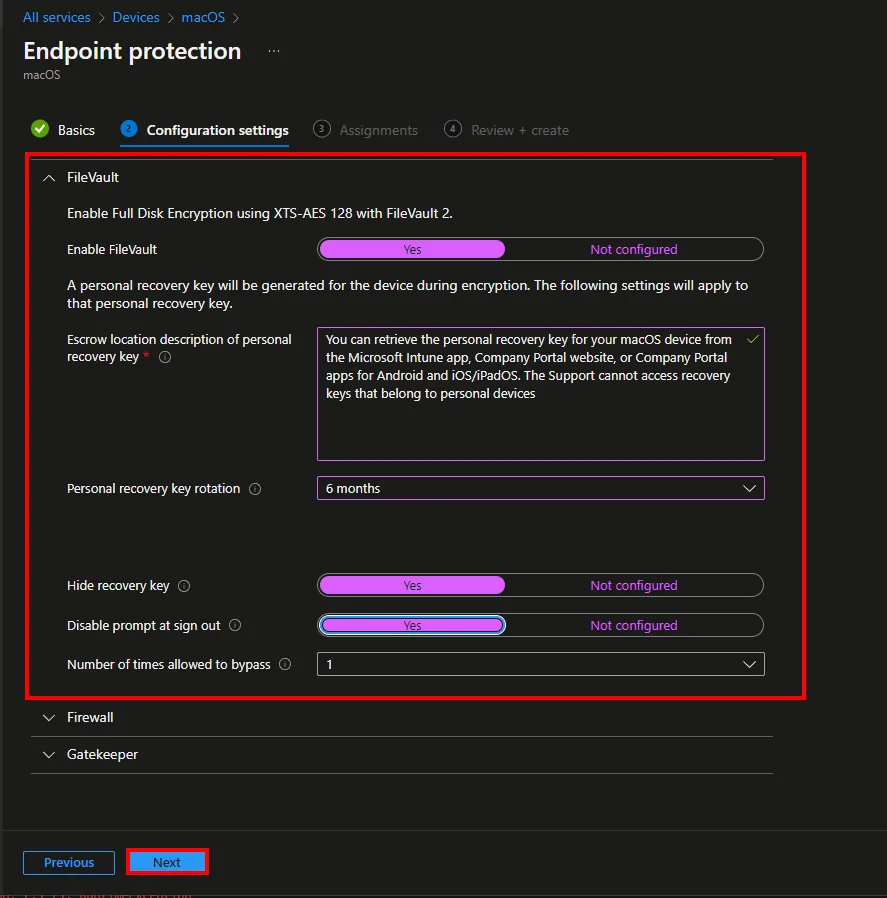
- Select FileVault and configure it the way you want it or the way the security department specifies it
- My configurations:
- Enable FileVault: Yes
- Escrow location description of personal recovery key: You can retrieve the personal recovery key for your macOS device from the Microsoft Intune app, Company Portal website, or Company Portal apps for Android and iOS/iPadOS. The Support cannot access recovery keys that belong to personal devices
- Personal recovery key rotation: 6 months
- Hide recovery key: Yes
- Disable prompt at sign out: Yes
- Number of times allowed to bypass: 2
- Click Next
When Disable prompt at sign out is set to Enable, the Number of times allowed to bypass must be set to a value other than Not configured (Post)
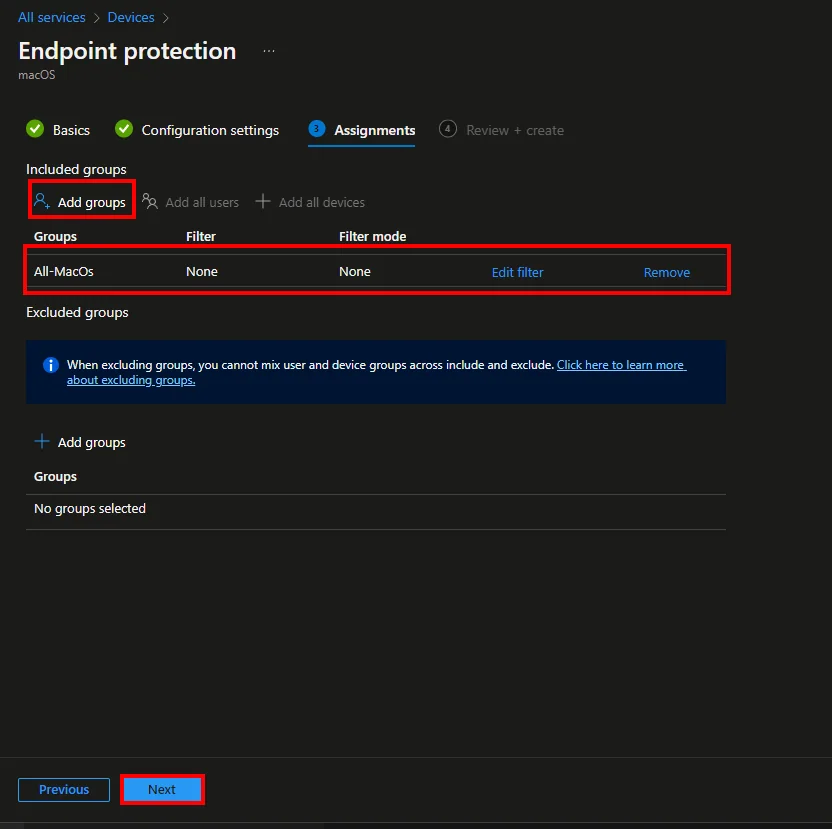
- Assign the Configuration profile to a group in which your macOS devices are in.
- Click Next > Create
Activate FileVault
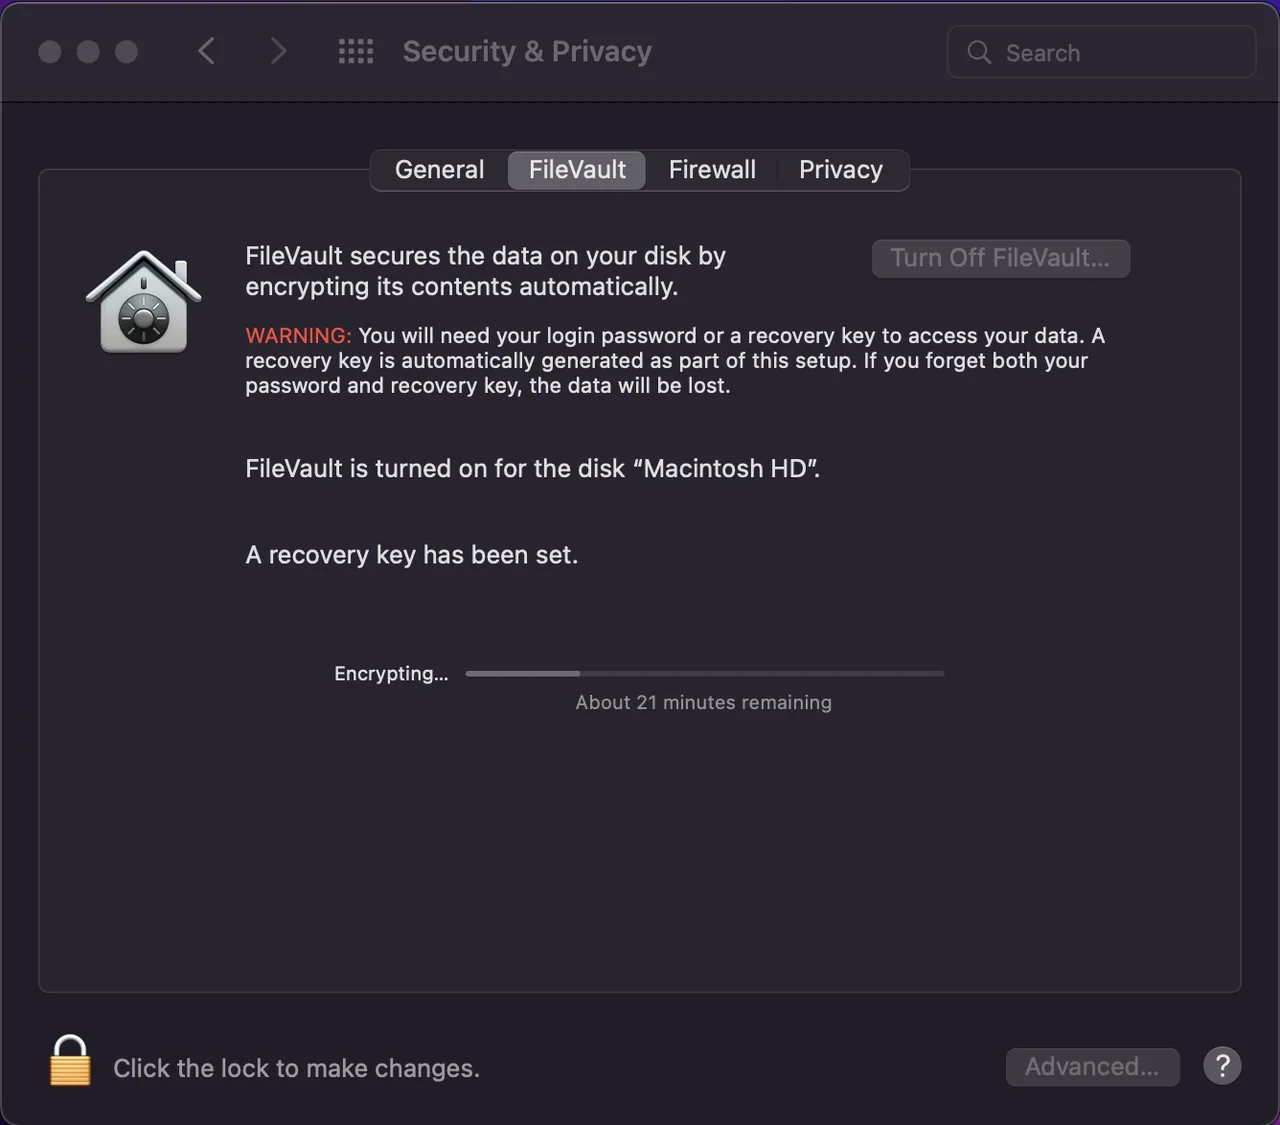
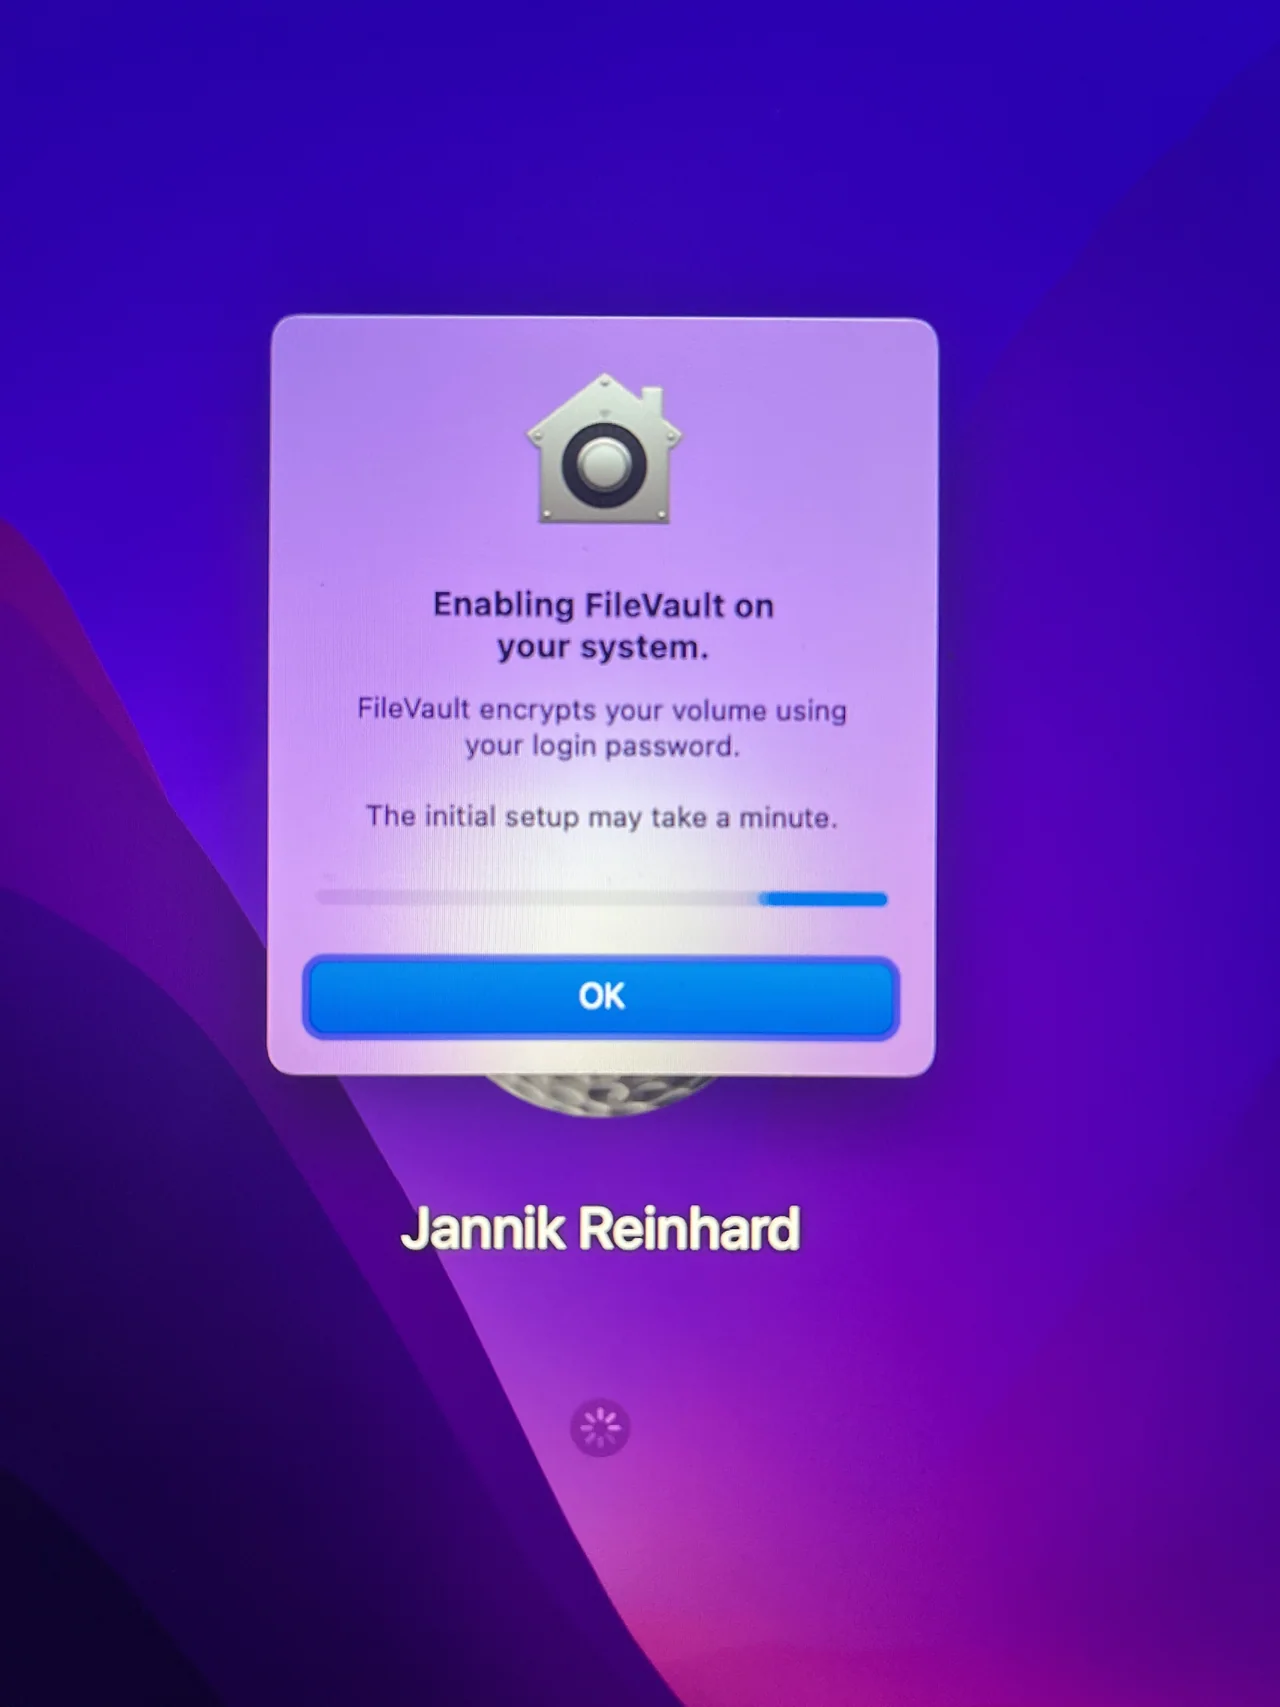
As soon as the Configuration Profile is applied to the device and the user logs in again, he will receive the following popup with the information that the FileVault should be activated. This is the moment the policy you created to Activate Mac FileVault using Intune actually takes effect on the endpoint. Depending on what you have selected as the value for the setting “Number of times allowed to bypass“, the encryption is then forced:
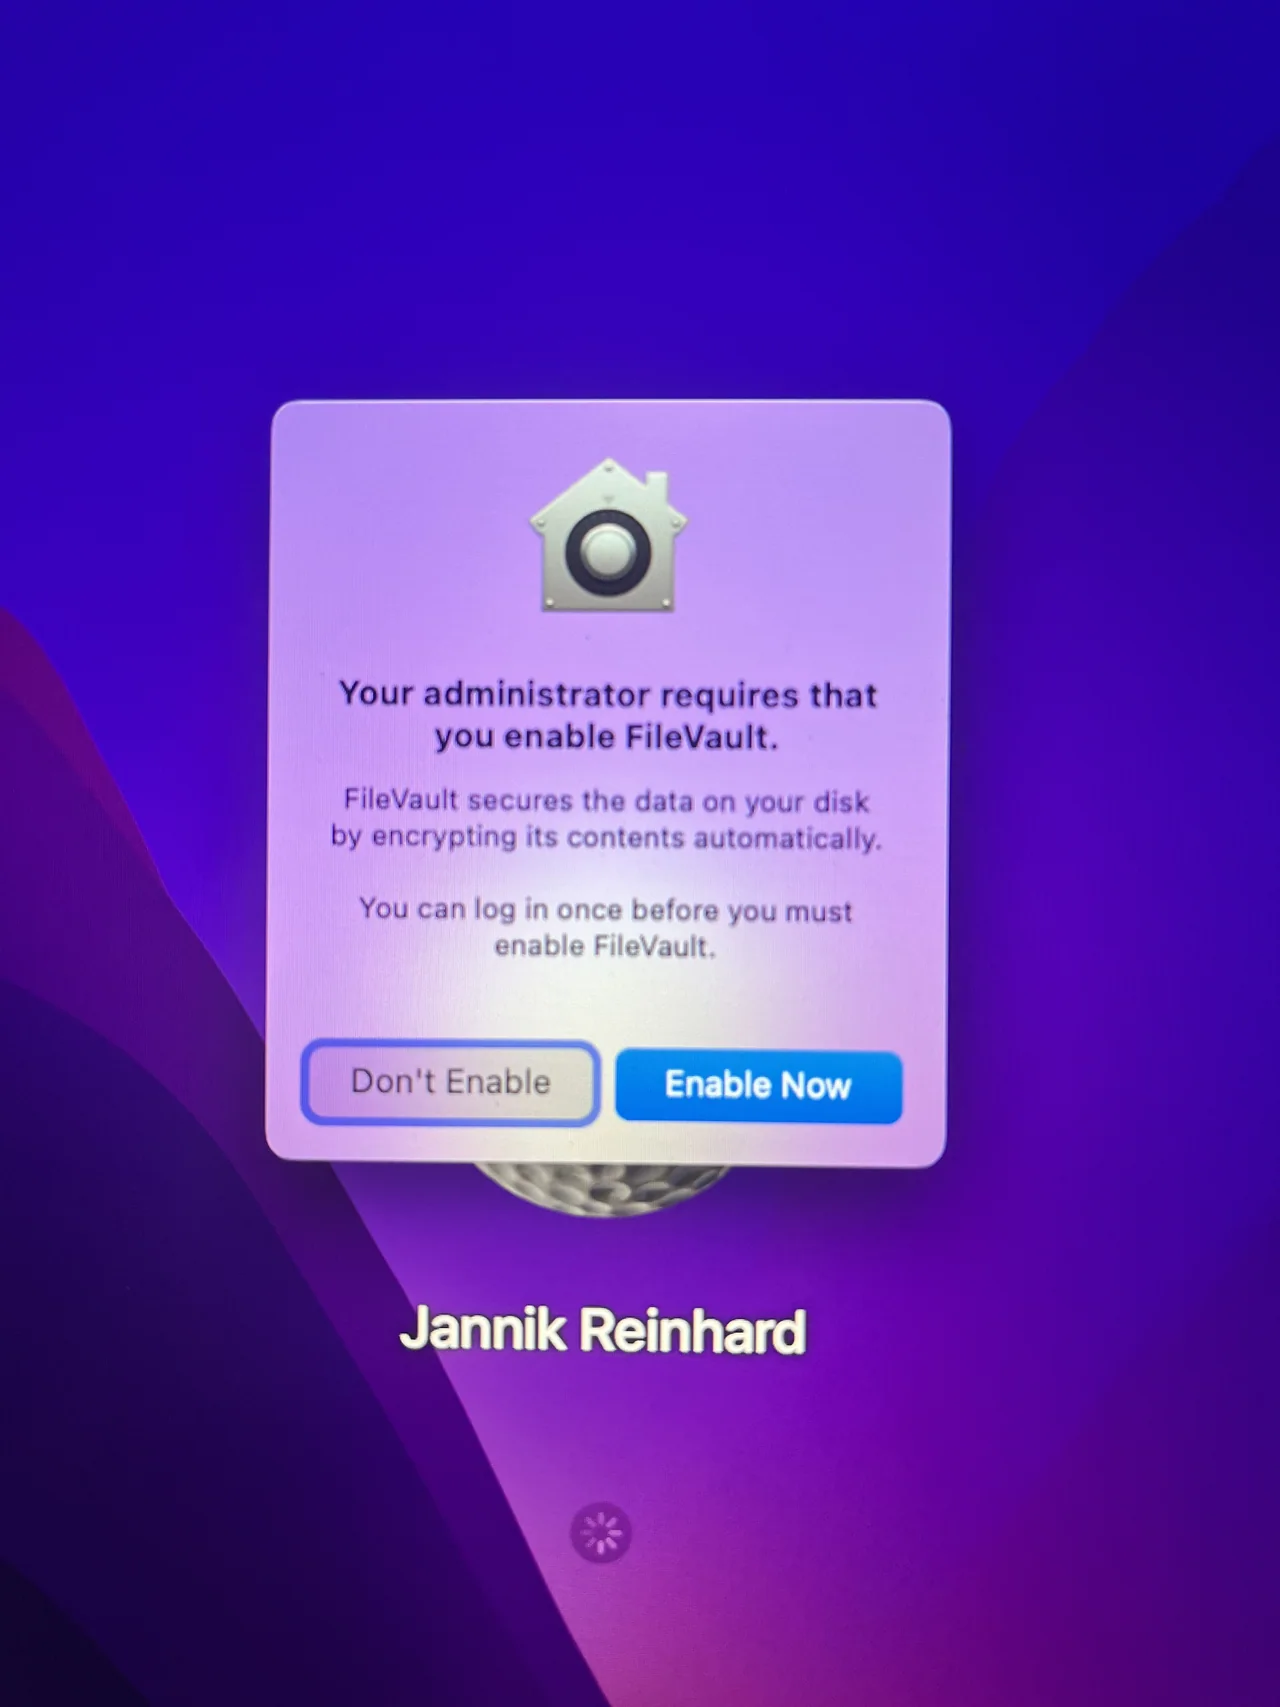
The encryption of the hard disk takes a few minutes/hours depending on the size.
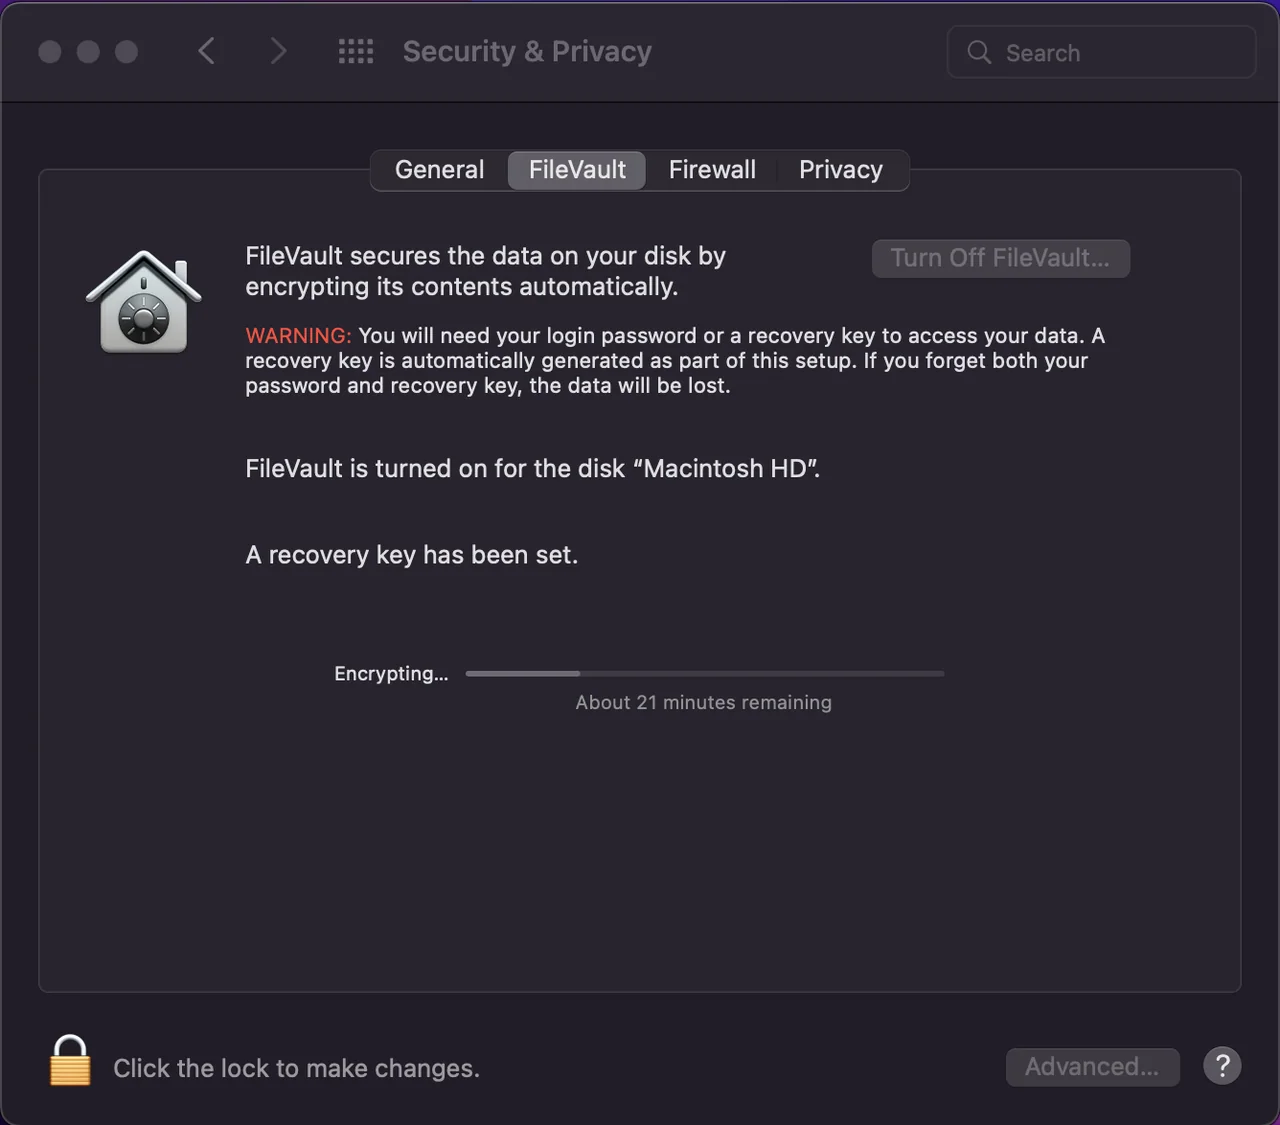
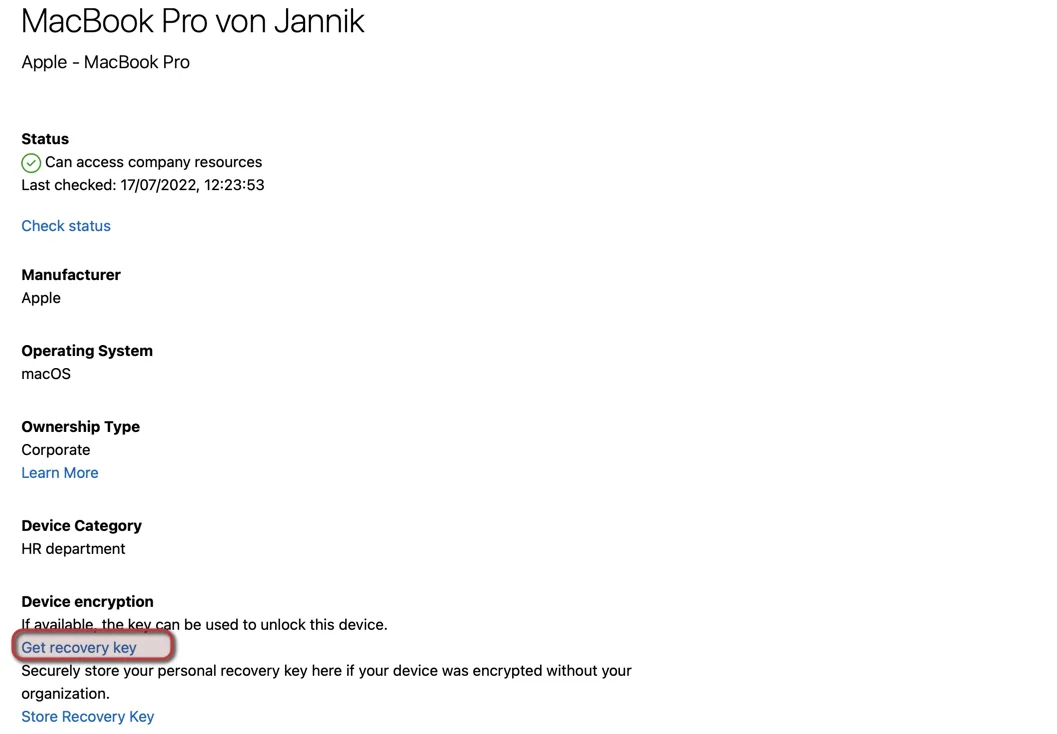
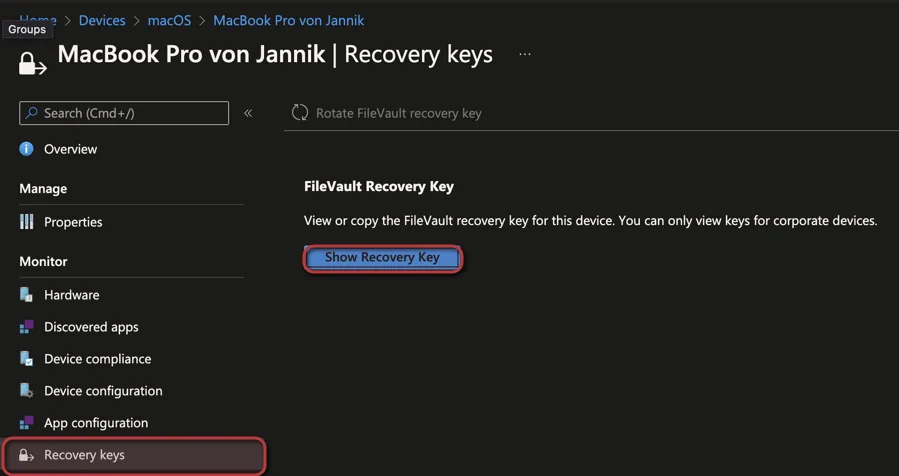
When this is done the disk is now encrypted. Via the Company Portal (e.g. Web Company Portal or on your smartphone) you can also read out the recovery key if you need it. You can also read this out via Intune. If you also want to protect your Windows fleet, take a look at my guide on how to manage devices with Intune on jannikreinhard.com for more endpoint security tips.
Conclusion
This blog was about a basic topic but very important. My recommendation is to enable and enforce disk encryption on all devices in the field. Now that you know how to Activate Mac FileVault using Intune, you can roll out the profile to every macOS group and let Intune escrow the recovery keys for you. I hope I could help you and explain what you need to configure when you Activate Mac FileVault using Intune.
Stay healthy, Cheers
Jannik